Tutorial 8: Empty-Guided Fires
This tutorial is on the harder side, and you may need to come back to it in the future to fully understand what it's doing. However, this tutorial is critical to a thorough understanding of DMK's capabilities. Go through this tutorial slowly and try to chew on each part.
Part 1: Firing Index
If you've poked around in the scripts lying around here or there in the engine, you may have seen the letter p suspiciously standing alone, in contexts like p this or 1 + 0.2 * p. What is this mysterious letter?
p is the firing index of an object. All BehaviorEntities (including lasers/pathers and any other complex bullets) and simple bullets have a firing index. Yes, even bosses have a firing index (though it's usually just 0).
The basic usage of a firing index is similar to setting the loop number in preloop: we use it to index the bullets or summons within a repeater. Copy this script into a blank file:
pattern {} {
	phase 0 {} {
		paction 0 {
			shiftphaseto(1)
		}
	}
	phase 0 {
		type(non, "Hello World")
		hp(4000)
        root(0, 2)
	} {
		paction 0 {
            async "arrow-red/w" <> gcrepeat {
				times inf
				wait 120
			} gsrepeat {
				target ang Lplayer
				spread <60>
				center
				times(10)
				preloop b{
					hvar itr = i;
				}
				p this
			} s rvelocity(px(2 + 0.2 * itr))
		}
	}
}
The usage of itr here to make the later bullets faster should be familiar.
Now, try using 2 + 0.2 * p instead of itr. It does the same thing!
There are multiple ways to construct the firing index. p this is the most common, and simply assigns p to the iterator index, like hvar itr = i. However, there are also:
p defer(default): don't modifyp.p mod: if amaxtimesproperty is present, then setp = maxtimes * p.parent + i, whereiis the iterator index. You can then usepmto retrieve the iterator index, but it requires some extra variables.p invmod: if amaxtimesproperty is present, then setp = maxtimes * p.parent + maxtimes - 1 - i, whereiis the iterator index.p add: Same asp modwith an assumedmaxtimesof 1024. If you add once, then you can usep1to get the parent number andp2to get the child number. Note that using more than 3 layers will cause overflow errors.
By using mod, invmod, or add, we can put multiple values of bindItr into this single number, and retrieve them later.
Now, the obvious question is: "Should I use p or variable assignment? p is probably faster, right?"
While it's true that p is slightly faster, DMK as an engine is so fast that this shouldn't matter for almost any use case. Really, the more important question is how easy each alternative is to use. bindItr makes intent clearer, and you can assign custom names to make the semantics in your functions maximally clear. On the other hand, it may be marginally easier to use p this, p add, p1, p2 when you're layering simple patterns. What you absolutely need to be careful of is avoiding p with more than two layers. There is no easy way to retrieve firing indices from p add with three layers. And retrieving firing indices from p mod is always doable with any level of nesting, but looks awkward and is easy to screw up. (For example, pma ww { wl, 2 } is what your code might end up looking like.) In these cases, you should be using variable assignment.
So, why did I go through the trouble of telling you what p is if I'm just going to tell you not to use it in most cases? The answer is that p is the most effective way to deal with our next problem:
Part 2: Empty-Guided Fires
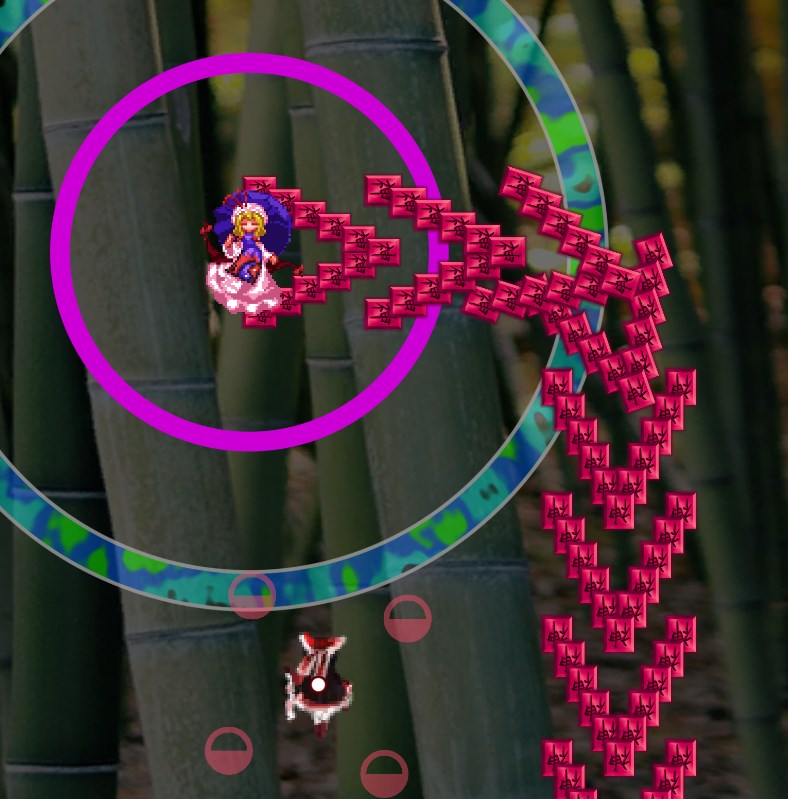
Let's start by summoning multiple bullets shaped like an arrow.
Mapping from an index to a coordinate in an arrow structure is actually quite annoying, but we can use the bindArrow helper to do it for us.
		async "amulet-red/w" <> gcrepeat {
				times inf
				wait 120
				p this
			} gsrepeat {
				times(11)
				bindArrow
				preloop b{
					rv2.rx = (brv2.rx + -0.1 * aixd)
					rv2.ry = (brv2.ry + 0.1 * aiyd)
				}
			} s rvelocity(px(2))
bindArrow gives us access to the bound variables axd, ayd, aixd, and aiyd. These are arrow coordinates, and the best way to understand how they work is to play around with them a bit. (Note: You should only use axd with ayd and aixd with aiyd).
You'll see that we use some new terms in the preloop section. rv2 is the running V2RV2 offset of the summoned bullets, and we can modify it directly. brv2 is the offset that was passed in from the parent, so what this does is assign rv2 to a new RX/RY offset, relative to the parent offset, based on the bound variable aixd/aiyd.
Familiarize yourself with this example before moving on.
Now, think about this question. These arrows are firing to the right, but you want them to rotate after 1 second to point downwards instead. How would you do it?
Your first thought may be to do something like s rvelocity(lerp(1, 2, t, px(2), py(-2))). But if you try this, you'll see that the shape of the arrow is not preserved after the rotation, and it no longer points in the direction it's moving!
The architecture of empty-guided fires was created to solve this problem. The basic idea behind empty-guiding is as follows:
- We use an empty bullet, ie. an invisible bullet with no collision, to move the "center" of the complex shape. We record its position and direction somewhere public.
- Other bullets define an offset relative to the center of the complex shape. Then, to find their final position, they use the expression
findEmptyPosition + Rotate(findEmptyDirection, myOffset).
(You can do this with a normal bullet instead of an empty bullet, but this may cause issues with bullet deletion effects like bombs, and the engine helper functions will always use empty bullets for safety.)
Note that empty bullets are not particularly different from normal bullets, and you can do things like spawning them and applying bullet controls to them freely. The bullet name is empty (no color suffix). However, they have immunity to most external bullet deletion effects like bombs, and they will be destroyed instead of softculled on phase clear.
Here's the basic code for the arrow example, written as an empty-guided fire:
		async "amulet-red/w" <> gcrepeat {
				times inf
				wait 120
				p this
			} guideempty2 p { ("eloc", code(loc)), ("edir", code(dir)) }
				rvelocity(lerp(1, 2, t, px(2), py(-2))) {
					gsrepeat {
						bindArrow
						times(11)
					} simple(nroffset(
						load("eloc", p) +
							rotatev(load("edir", p), pxy(
								-0.2 * aixd,
								0.1 * aiyd))),
						{ })
				}
The key function here is guideempty2. (There is also guideempty, which takes a few more arguments.) This function takes the following arguments:
- An indexing function that uniquely identifies this bullet at any point in time.
- An array of tuples of
(string, Func<SimpleBullet, Vector2>), which are functions on the empty bullets that we want to record and the aliases we want to record them under.- Note that we wrap the function in
code, which is sometimes required to support typechecking in BDSL.
- Note that we wrap the function in
- A movement path for the empty bullet.
- An array of child SyncPatterns to execute, with their offset and root set to zero, for each empty bullet.
Can you imagine why we use p here? The answer is straightforward: p has easy support for merging multiple repeater indices, and for this empty-guided indexer, we only need a unique identifier. Even if it's difficult to retrieve the original repeater indices from p, in the context of empty-guiding, we actually don't need to do that.
In almost all cases, you will want to record the two functions loc (location) and dir (direction), defined in SBV2Repo. We assign them to the aliases eloc and edir respectively.
I have given the empty bullet the rotating movement path which we want to make work.
Finally, we provide the arrow-generating function in the array of children. Instead of defining the offset in preloop, we define it in an nroffset movement function, because the offset will need to rotate depending on the direction of the empty bullet. We use the simple summoning function, which is almost the same as s, but also takes an array of simple bullet modifiers as an argument (to be used shortly). Then we write the offset expression
findEmptyPosition + Rotate(findEmptyDirection, myOffset)
where
findEmptyPosition=load("eloc", p)-- this retrieves the recorded value ofelocwith the unique identifierp,rotatevis the function that rotates a vector (second argument) by a direction (first argument),findEmptyDirection=load("edir", p),- and
myOffset=pxy(-0.2 * aixd, 0.1 * aiyd).
We could also use the shorter form, dtpoffset("eloc", "edir", p, pxy(-0.2 * aixd, 0.1 * aiyd)).
If you run this code, you'll see that the arrow offset now rotates when the empty bullet at the tip of the arrow rotates.
Note: While we normally think of directions in terms of angles, it is more efficient to deal with angles as a vector2 (cos(theta), sin(theta)). This vector format also makes it easy to rotate vectors by directions (rotatev(rotator, vector)).
However, you may be concerned about the fact that the orientation of the individual bullets depends on their local rotation and not the rotation of the arrow. To solve this, we can just provide a custom direction function to the simple bullet options. Change the empty array to { dir2(load("edir", p)) }, so now the amulets point in the same direction as the empty bullets. Dir2 is a simple bullet option that takes a vector2 function as the custom direction function for the bullet.
You might think that the rotation looks a bit stilted, like it's not rotating around the right point. Currently, the empty bullet is located at the head of the arrow, and real-life objects usually don't rotate around their heads. To make the empty bullet located closer to the center of the arrow, we can simply provide an offset to the location function by changing -0.2 * aixd to 0.6 + -0.2 * aixd. Test out different offsets here.
The final code is as follows:
		async "amulet-red/w" <> gcrepeat {
				times inf
				wait 120
				p this
			} guideempty2 p { ("eloc", code(loc)), ("edir", code(dir)) }
				rvelocity(lerp(1, 2, t, px(2), py(-2))) {
					gsrepeat {
						bindArrow
						times(11)
					} simple(
						dtpoffset("eloc", "edir", p, pxy(
								0.6 + -0.2 * aixd,
								0.1 * aiyd)),
						{ dir2(load("edir", p)) })
				}